后台效果截图:

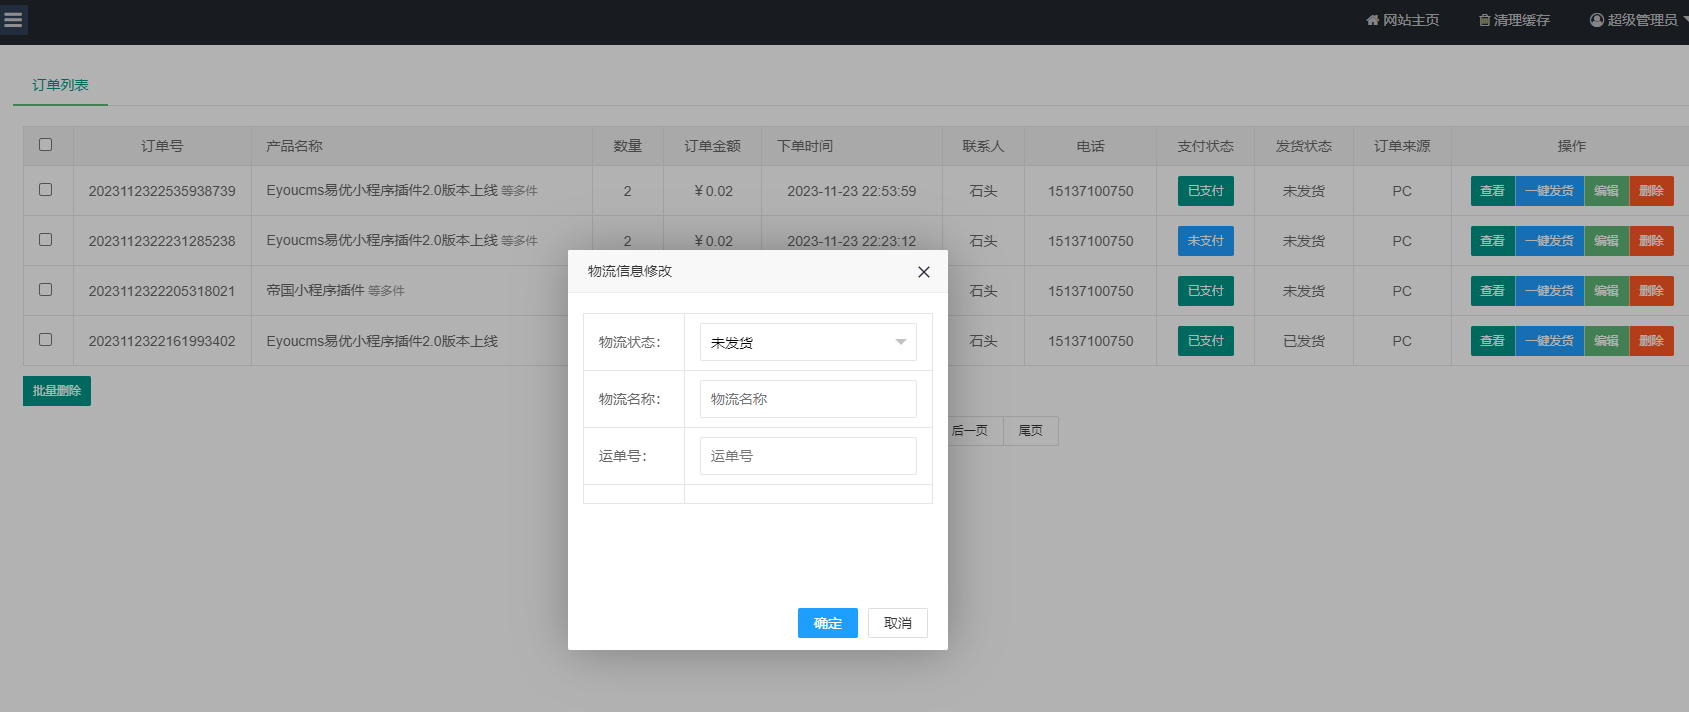
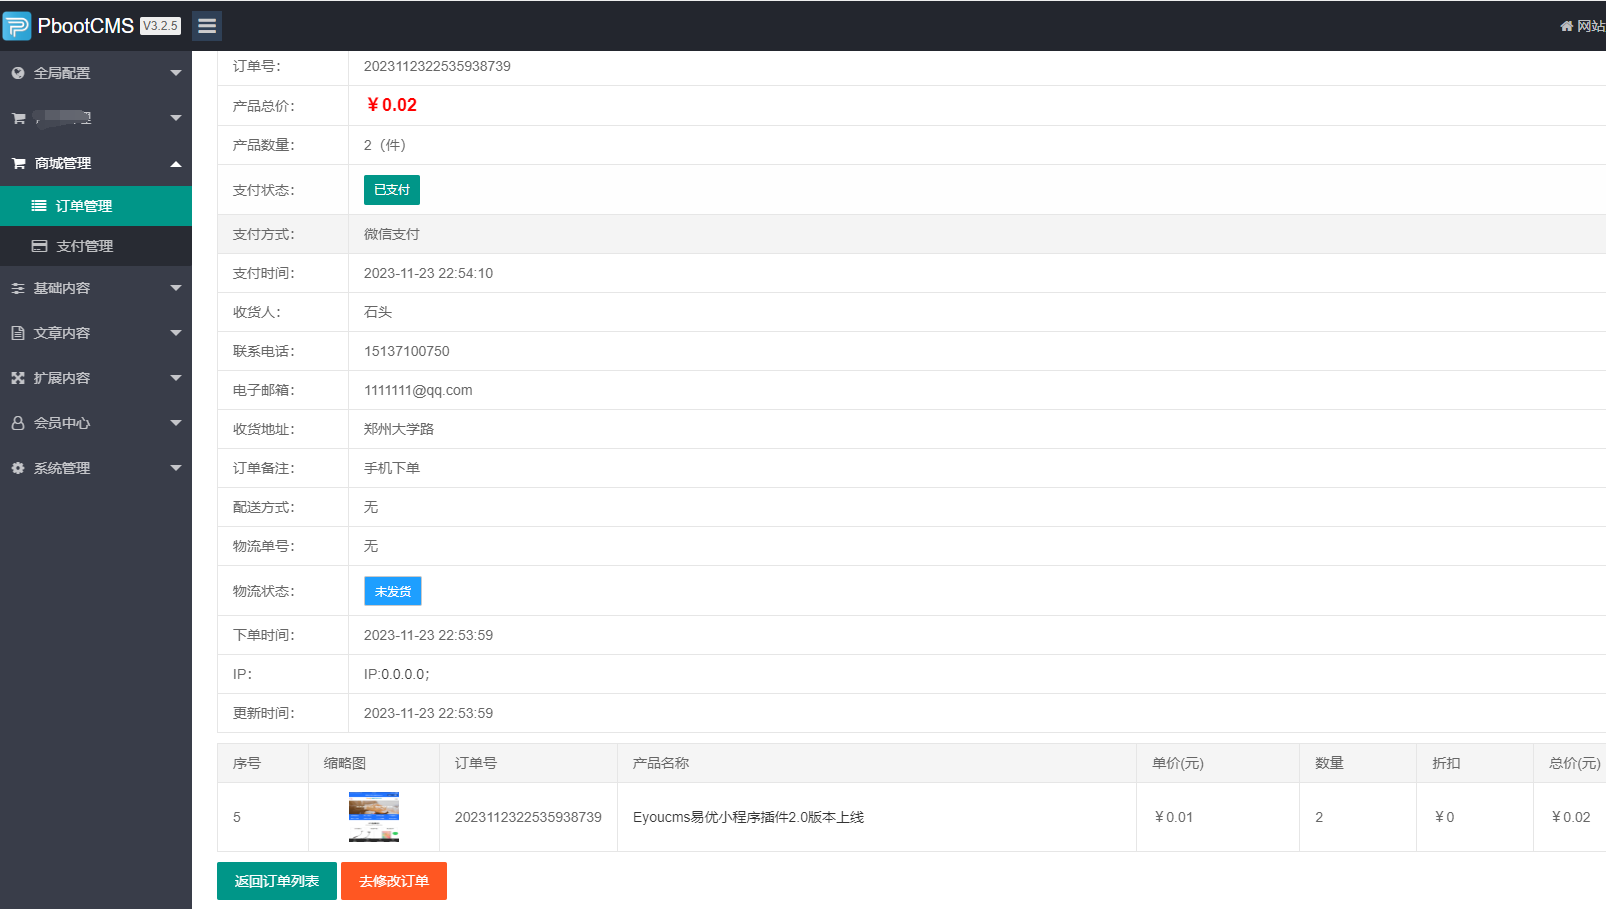

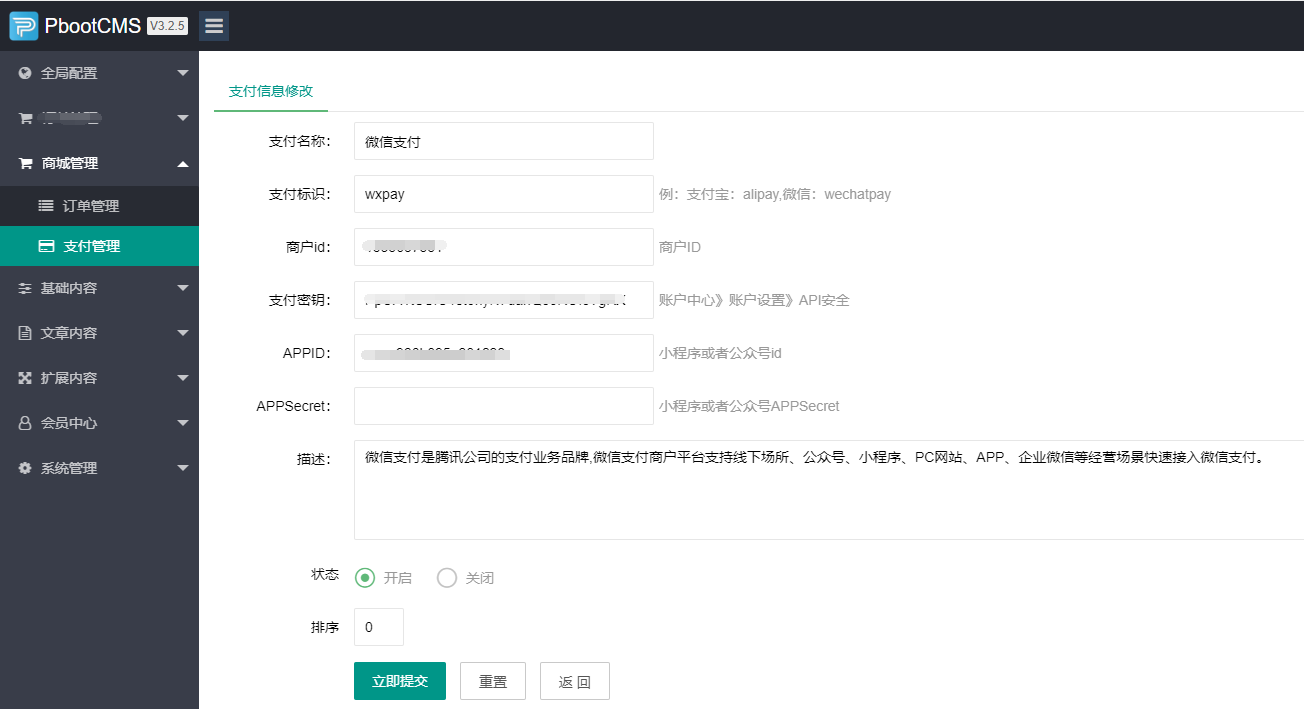
前端效果截图:
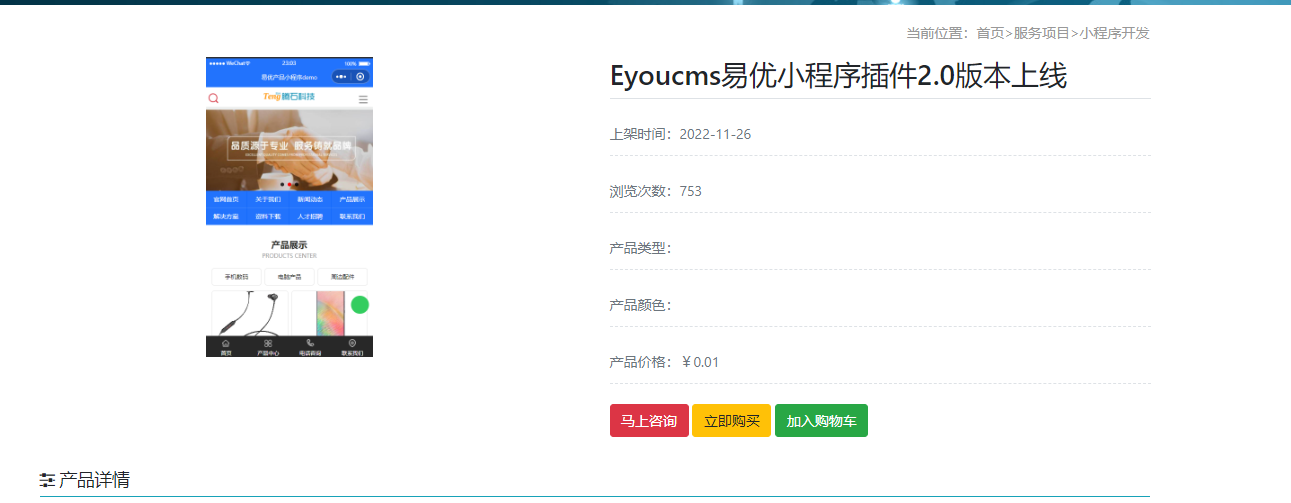
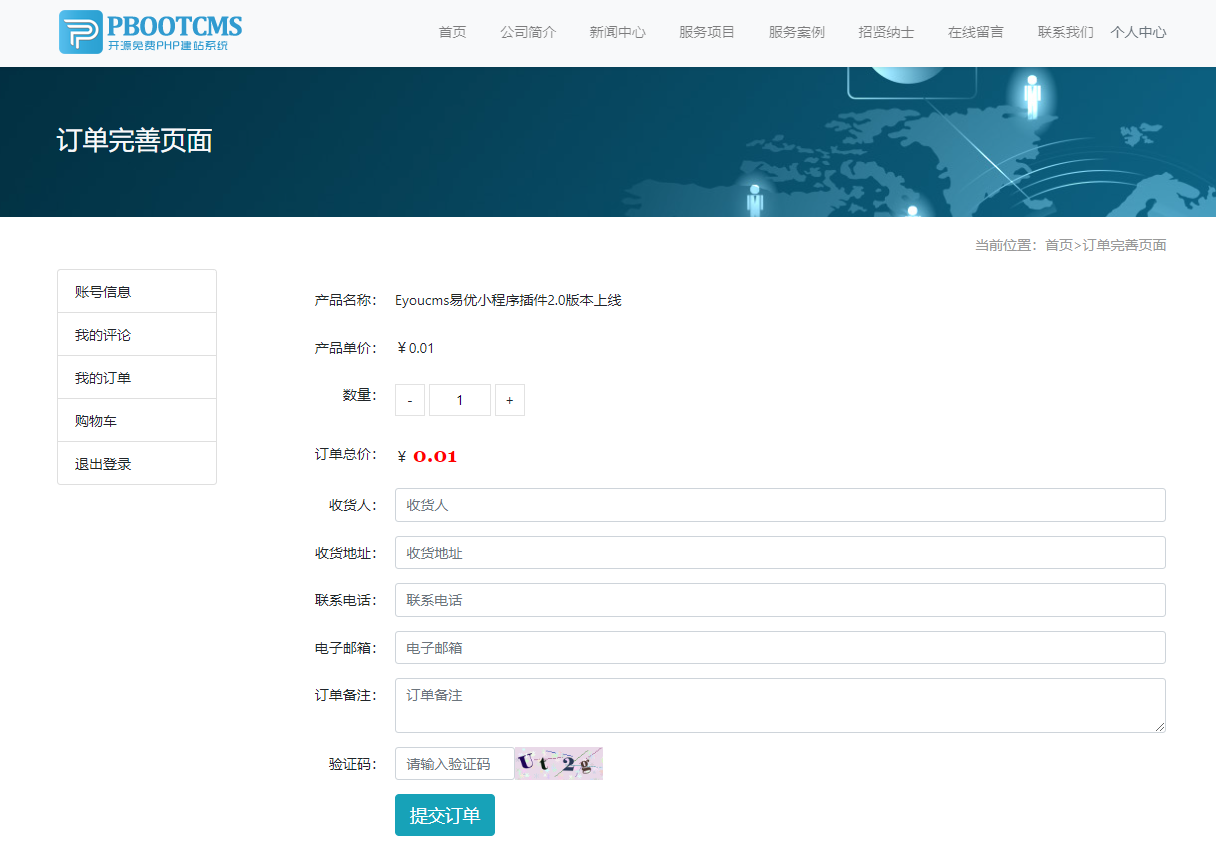
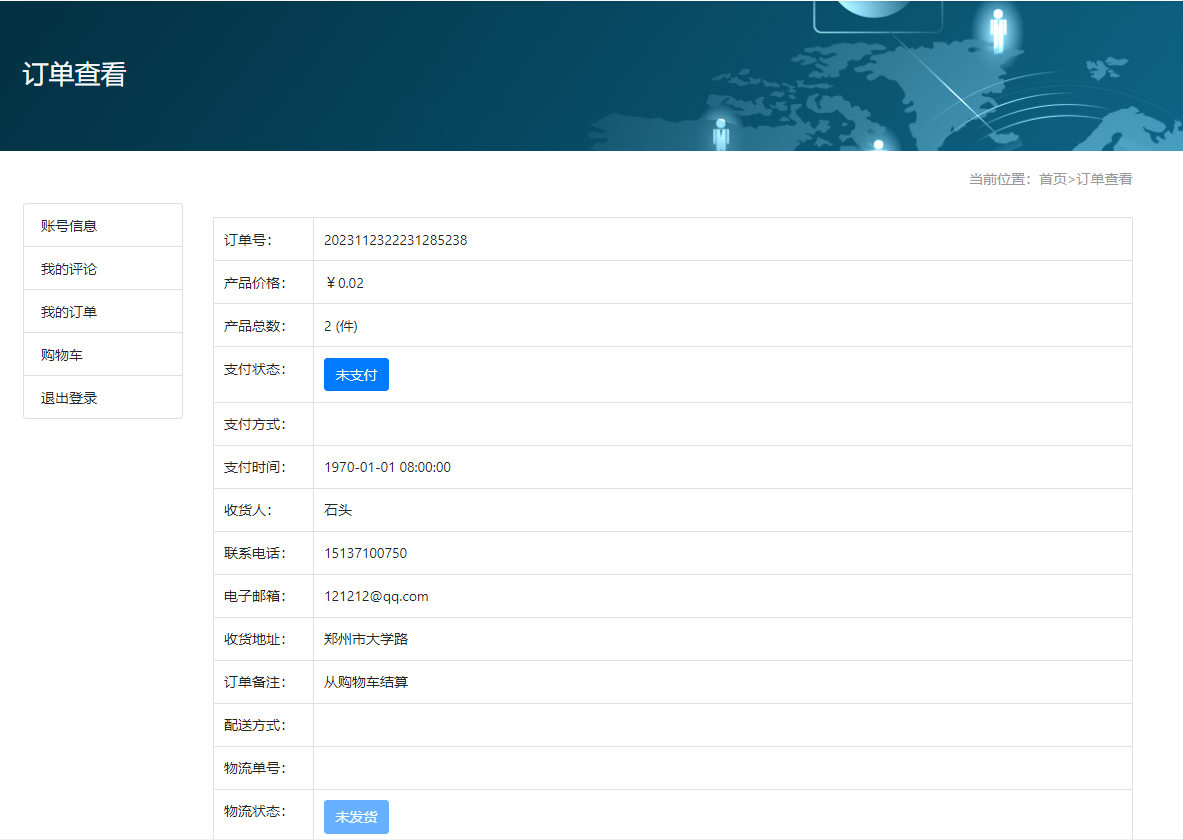
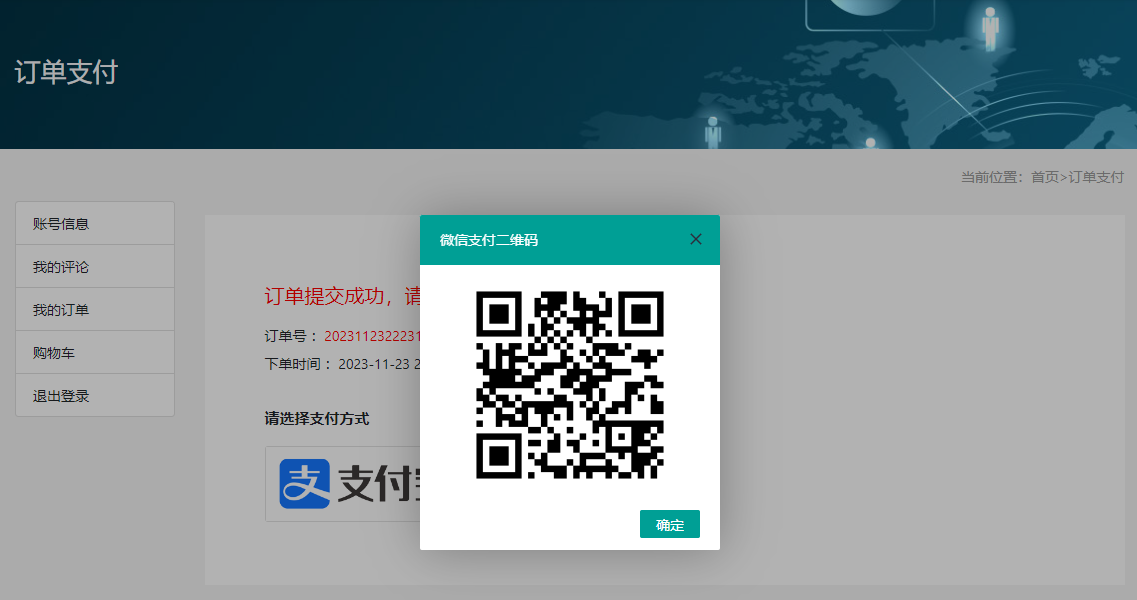
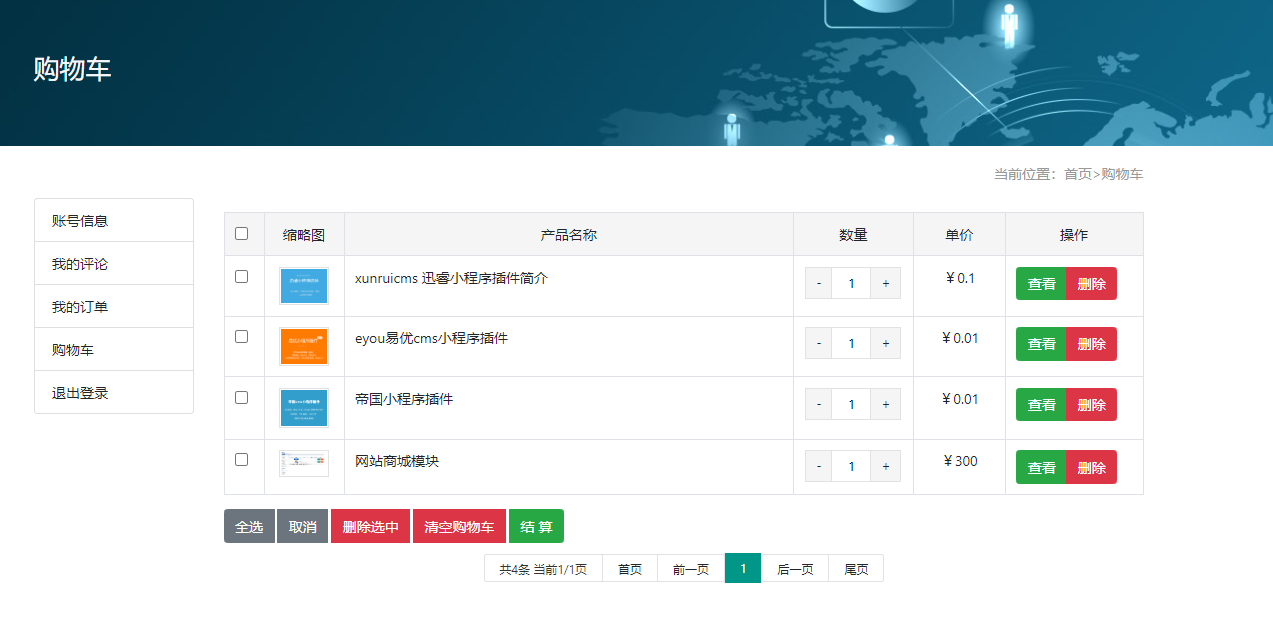
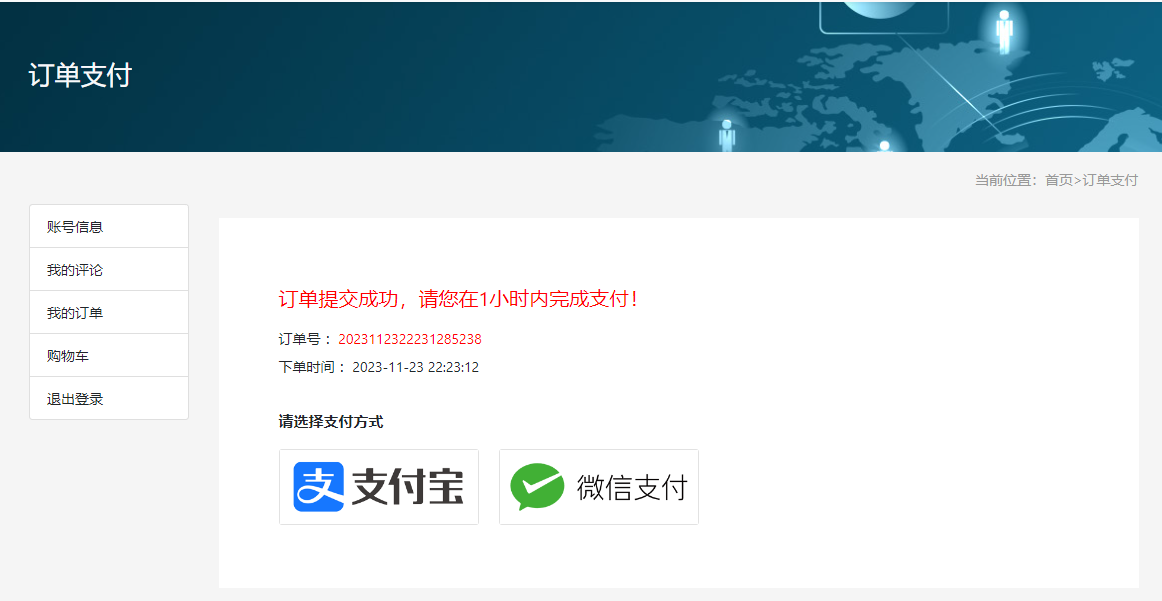
演示网站:https://pb.tengcee.com/
演示网站会员账号:fengye002012 abcd123456
安装流程:
1、上传代码到你的网站根目录下
2、导入数据库
数据库总共有四个表
ay_order:订单表,
ay_order_data:订单附表,
ay_order_cart:购物车表,
ay_payment:支付方式表。
3、网站后台添加对应菜单
打开网站后台---系统管理--系统菜单--添加菜单,注意:如果后台没有系统菜单,官方默认的“系统菜单”是不显示,则有两种办法
一是:找到数据库ay_menu表的“系统菜单”即id是3的status设置为1,然后清楚缓存退出后台,然后重新登录,如果还不出现多操作几遍
二是:通过https://您的域名/admin.php?p=/Menu/index,直接修改,添加菜单
(1)添加“商城管理“(顶级菜单)
菜单名称:商城管理
URL:/admin/Shop/index
快捷图标:fa-shopping-cart
(2)给商城管理添加子菜单“订单管理”
菜单名称:订单管理
URL:/admin/Shop/index
快捷图标:fa-list
(3)给商城管理添加子菜单“支付管理”
菜单名称:支付管理
URL:/admin/Pay/index
快捷图标:fa-credit-card
菜单添加之后,可能不会立马显示,此时需要你清楚缓存,退出后台登录,然后重新登录即可
4、添加路由规则
打开config/route.php,添加代码:
- // 订单管理
- 'admin/Shop' => 'admin/shop.Shop',
- 'admin/Pay' => 'admin/shop.Pay',
5、前端修改
(1)给产品页面添加“立即购买”和“加入购物车按钮”,例:products.html(ext_price会自带的价格字段,价格大于0则显示按钮)
然后再下方找到放js的代码添加js代码:
- {pboot:if('{content:ext_price}' > 0)}
- <span><a href="javascript:;" id="gobuy" class="btn btn-warning">立即购买</a></span>
- <span><a href="javascript:;" id="addcart" class="btn btn-success">加入购物车</a></span>
- {/pboot:if}
注意:有些自己设计的模板,没有引入官方自带的layer.js,造成弹框无法弹出,此时需要再头部文件加入layer.js:
- $("#addcart").click(function(){
- var id = '{content:id}';
- $.getJSON('{pboot:sitepath}/index.php/shop/addcart?id='+id+"&"+Math.random(), function(res){
- if(res.status == 1) {
- alert('加入购物车成功');
- }else if(res.status == 2) {
- alert('您已经添加过了');
- } else if(res.status == '-1') {
- // alert('请登录');
- layer.confirm('提示', {
- title: false,
- content:'请先登录',
- btn: ['去登录','关闭'],
- yes:function(){
- window.location.href = res.url
- }
- })
- }else{
- alert('参数错误');
- }
- });
- });
- $("#gobuy").click(function(){
- var id = '{content:id}';
- $.getJSON('{pboot:sitepath}/index.php/shop/buy?id='+id+"&"+Math.random(), function(res){
- if(res.status == 1) {
- console.log(res);
- window.location.href = res.url
- }else if(res.status == '-1') {
- layer.confirm('提示', {
- title: false,
- content:'请先登录',
- btn: ['去登录','关闭'],
- yes:function(){
- window.location.href = res.url
- }
- })
- }else{
- alert('参数错误');
- }
- });
- });
- <script src="{pboot:sitetplpath}/js/layer/layer.js" ></script>
(2)给会员中心的左侧添加导航:打开template\default\html\member\left.html,有两处
第一处在地6行的“账号信息”后边添加:(手机端效果)
第二处大概18行即在第二处账号信息下边添加:(pc段效果)
- <div class="dropdown-divider"></div>
- <a class="dropdown-item" href="{pboot:sitepath}/index.php/shop/lists">我的订单</a>
- <div class="dropdown-divider"></div>
- <a class="dropdown-item" href="{pboot:sitepath}/index.php/cart/index">购物车</a>
安装完成,更新缓存查看一下效果
- <a href="{pboot:sitepath}/index.php/shop/lists" class="list-group-item">我的订单</a>
- <a href="{pboot:sitepath}/index.php/cart/index" class="list-group-item">购物车</a>
说明:
(1)目前只支持简单购买和加入购物车,赞不支持多规格以及不同属性参数
(2)后台可以添加自己的支付方式,如果需要自定义字段,可以通过数据库ay_payment表的params表,通过json方式 添加自己的字段,例:{"mchid":"","apikey":"","appid":"","appsecret":""}
(3)暂不支持物流运费,可以通过后台“改价”方式,增加对应物流运费
(4)商城版小程序正在开发中

